Editing a Theme Locally
As mentioned briefly in What is a Shopify Theme, there are two ways to edit your Shopify theme: the Theme Editor (drag and drop style) or the Code Editor (code style!). Here I’ll focus on the latter, but rather than editing the code within the Shopify admin, I’ll be doing it locally on my desktop.
Developing a Shopify theme locally simply means editing the code on your own machine rather than directly on the Shopify website. You might wonder why bother, given that the files are already there waiting to be edited in the admin, where you can just change something, hit save, and see it instantly apply to your theme. That’s the exact same approach (and opinion) I had when I first started editing Shopify themes.
The primary benefits of editing locally are:
- Using a code editor. Code editors like VS Code are a lot easier to use than web-based editors and come with a load of productivity benefits, primarily in the form of extensions.
- Global search. If you need to find every instance of a specific CSS class across your theme folder, it’s much easier to do in VS Code.
- The “Undo” safety net. Deleting or erroneously editing a line of code without being able to retrieve it is bound to happen. Local editors have multiple levels of undo, which is far more forgiving than a web-based editor.
I’ll come to version control and Git in a later section, which gives you a much more robust safety net than undo on its own.
So, you’ve got a code editor on your desktop and the Shopify extension installed. Now what? I’ll be using Shopify’s reference theme, Dawn, throughout this tutorial, so let’s go ahead and download it.
You may be thinking “OK, let’s head to the theme store and download it”. That’s a valid approach, but there’s a far easier way of dealing with files stored online.
Instead, you’re going to use the command line (often referred to as the terminal) to download the theme to your local machine and edit from there. Once you’ve made changes, you can upload them, or “push” them as it’s known, to Shopify straight from your desktop.
Don’t worry, the command line is just an interface for interacting with your system. It’s not as daunting as it seems. There are dozens of great YouTube tutorials explaining how to use it in depth. For this tutorial, you can just copy and paste the commands.
1. Initialise your theme
Section titled “1. Initialise your theme”First, create (or navigate to) a folder where you want your themes to live. I’m using ~/Documents/shopify-projects/ but anywhere sensible works. Once you’re in that folder, run the command below to pull the latest version of Dawn into it.
shopify theme init-
Name your project. The CLI will ask for a name. Type
my-tutorial-themeand hit Enter. -
Wait for the clone. The CLI will download the files and initialize a local Git repository for you.
-
LLM add-ons. It may ask if you want to install AI support tools. You can skip this for now.
-
Enter your theme directory. You may think nothing has happened, but your theme files sit inside a new folder that you’ll need to move into. Use the command below to
cd(change directory) into it.
cd my-tutorial-themeOnce you’ve done that you should see something like the image below. You may notice the small command ls, which simply lists out the contents of the folder you’re currently working in. As expected, you can now see the Shopify theme files.
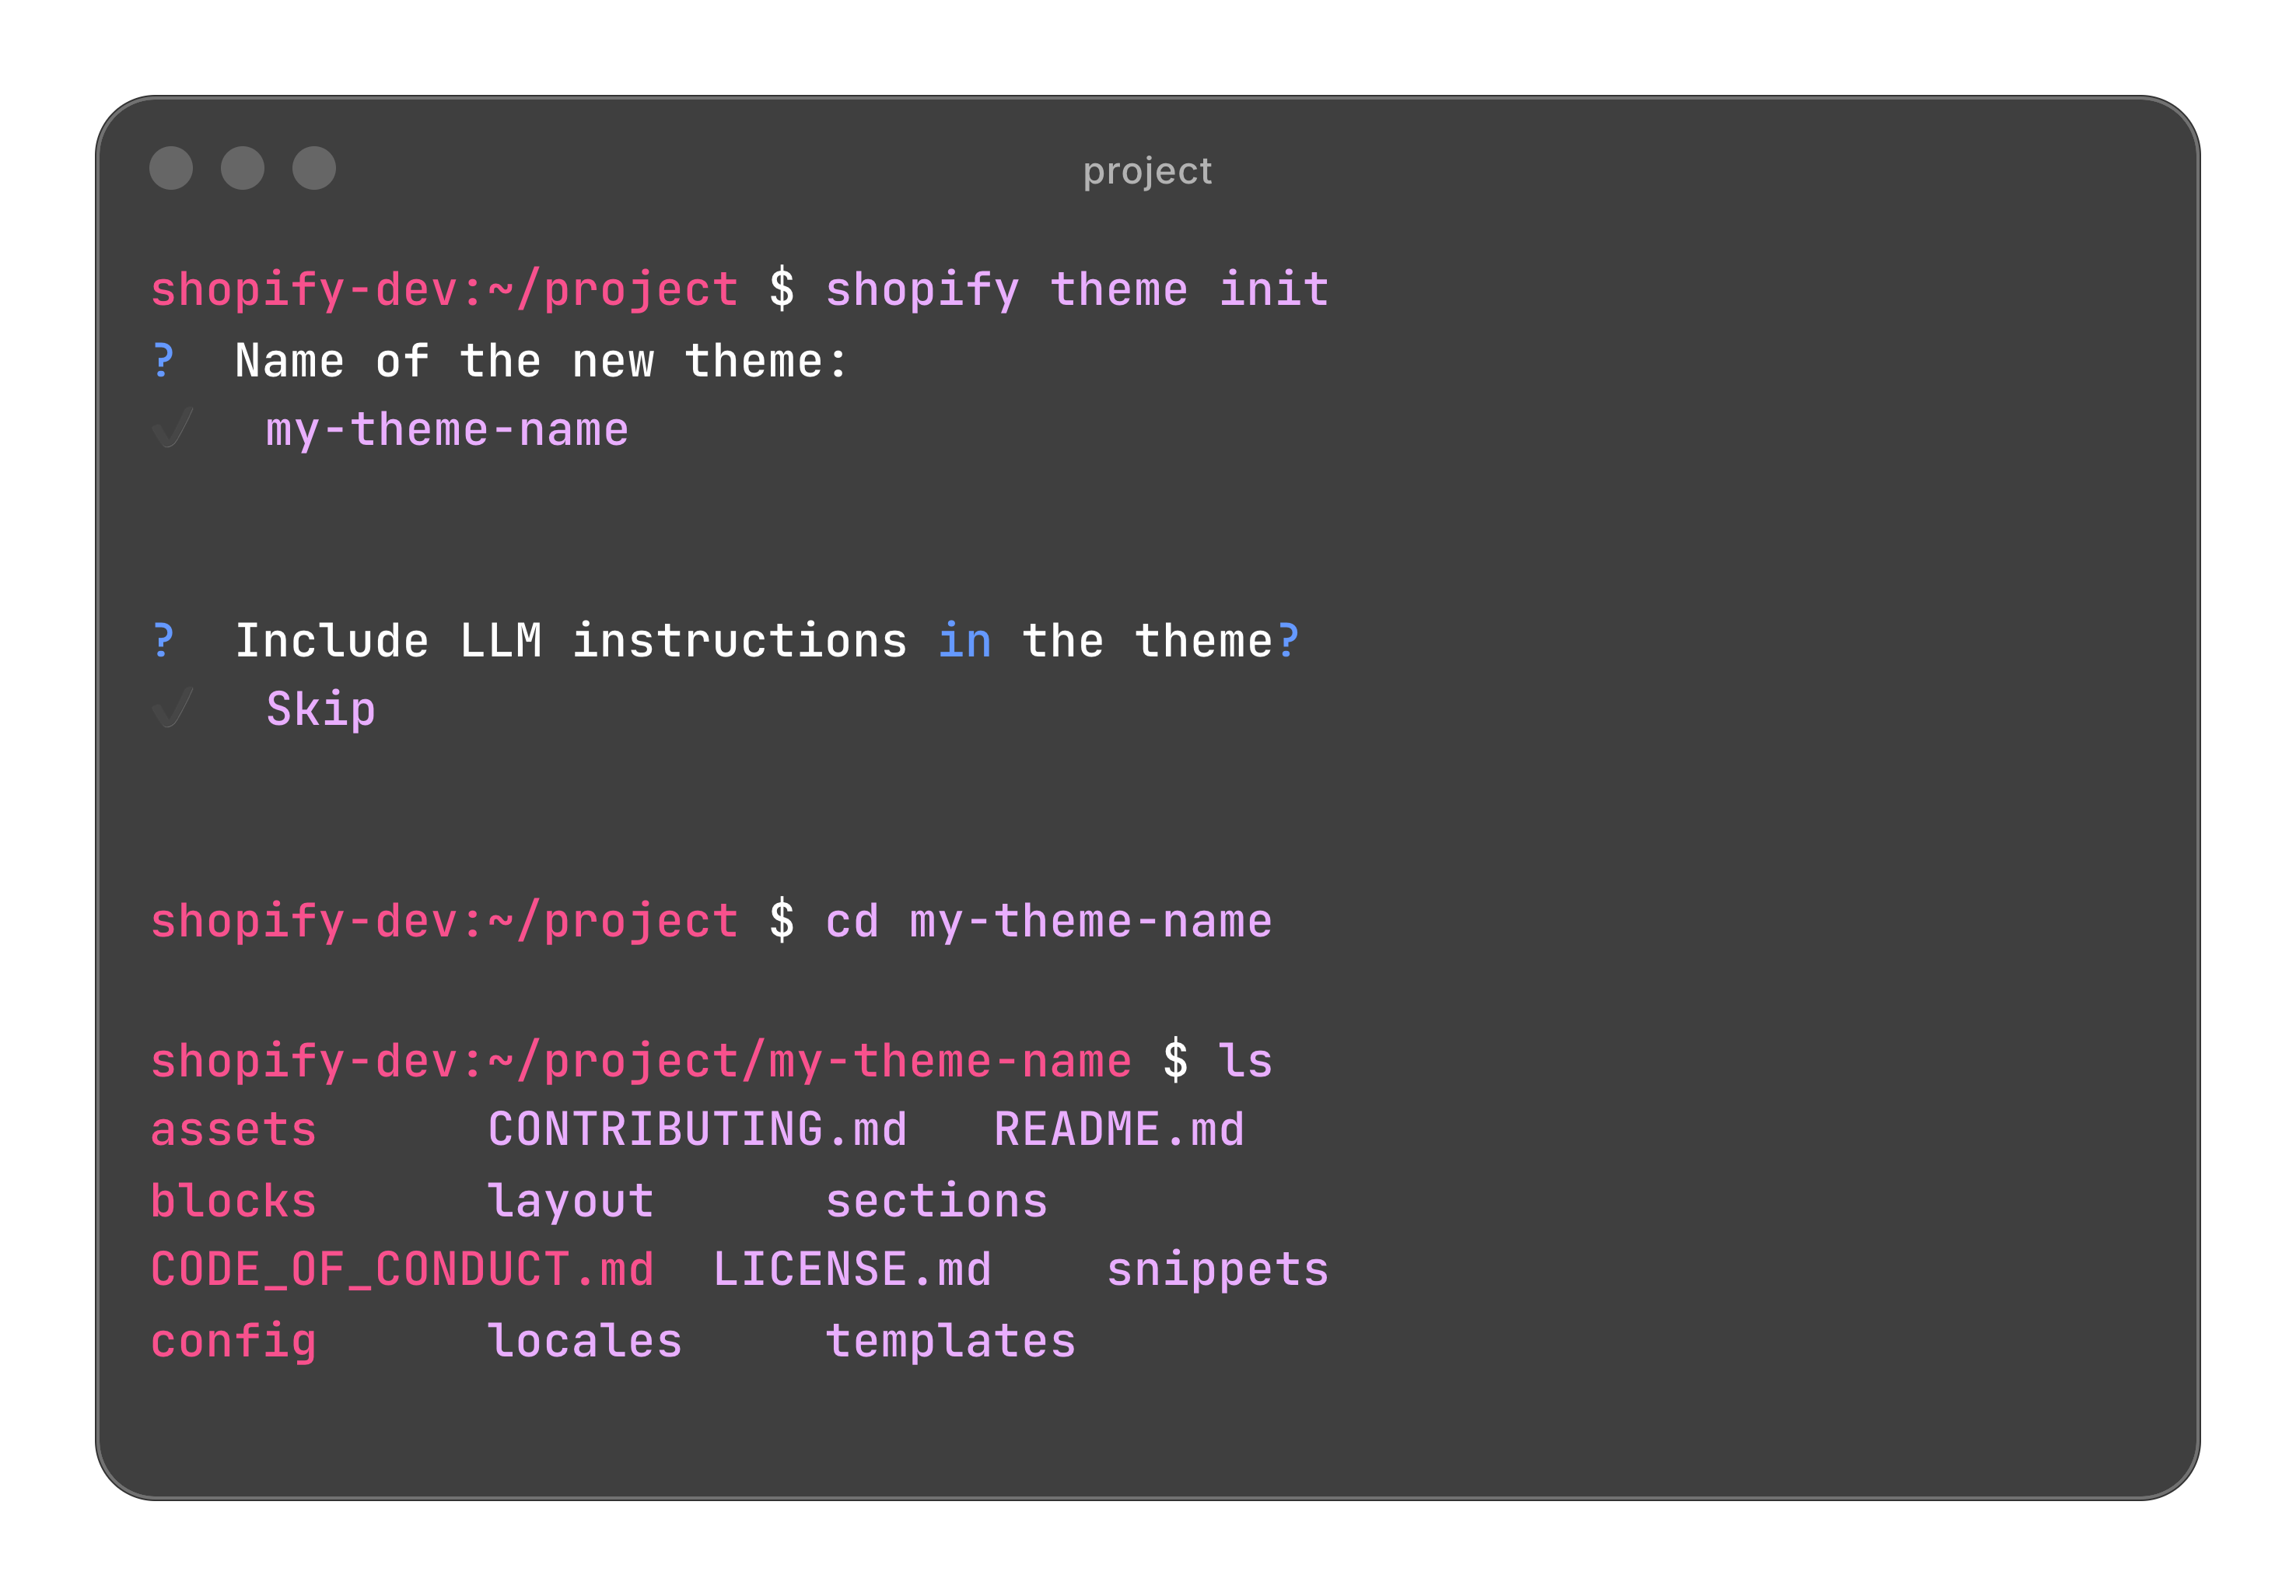 Example terminal output for theme initialisation
Finally, you want to open that folder and work within your code editor. An easy way to do this is the following:
code .This should have opened your theme directory in your code editor. If it didn’t, you can simply open your code editor and go File → Open the usual way.
If you are unfamiliar with the files presented to you, be sure to check out the ‘Anatomy of a Theme’ section on the What is a Shopify Theme? page.
Now you’re loaded up on your own machine, the next question is: how do you tell Shopify about the changes you make?
2. Connect your theme to your store
Section titled “2. Connect your theme to your store”Run the command below from inside your theme folder, replacing your-store.myshopify.com with your actual store URL:
shopify theme dev --store your-store.myshopify.comThe first time you run this, the CLI will open your browser and ask you to log in and authorise the connection. It can feel a bit unexpected but just log in, approve it, and come back to the terminal.
Once that’s done, the CLI prints a preview URL. Open it in your browser and you’ll see your theme running against your store’s real data — your actual products, collections, and content. What you’re not looking at is your live store. Nothing has been pushed anywhere yet. The preview is served directly from your machine, which is why the dev server needs to keep running in the background while you work.
Hit Ctrl+C to stop it when you’re done.
One useful detail: the preview URL is shareable. If you want a client or teammate to look at a change before it goes anywhere near the live site, you can send them the link.
3. Making your first change
Section titled “3. Making your first change”With the dev server running and the preview URL open in your browser, make a small change to something visible. A good first edit is sections/header.liquid. Open it, find a piece of hardcoded text, change it to something obvious, and save.
Switch back to your browser. The preview reloads automatically.
That’s the loop. No navigating to the admin, no clicking save, no waiting, no refreshing. You make a change and you see it. It sounds like a small thing but it’s the actual reason local development is worth the setup time over just editing in the admin.
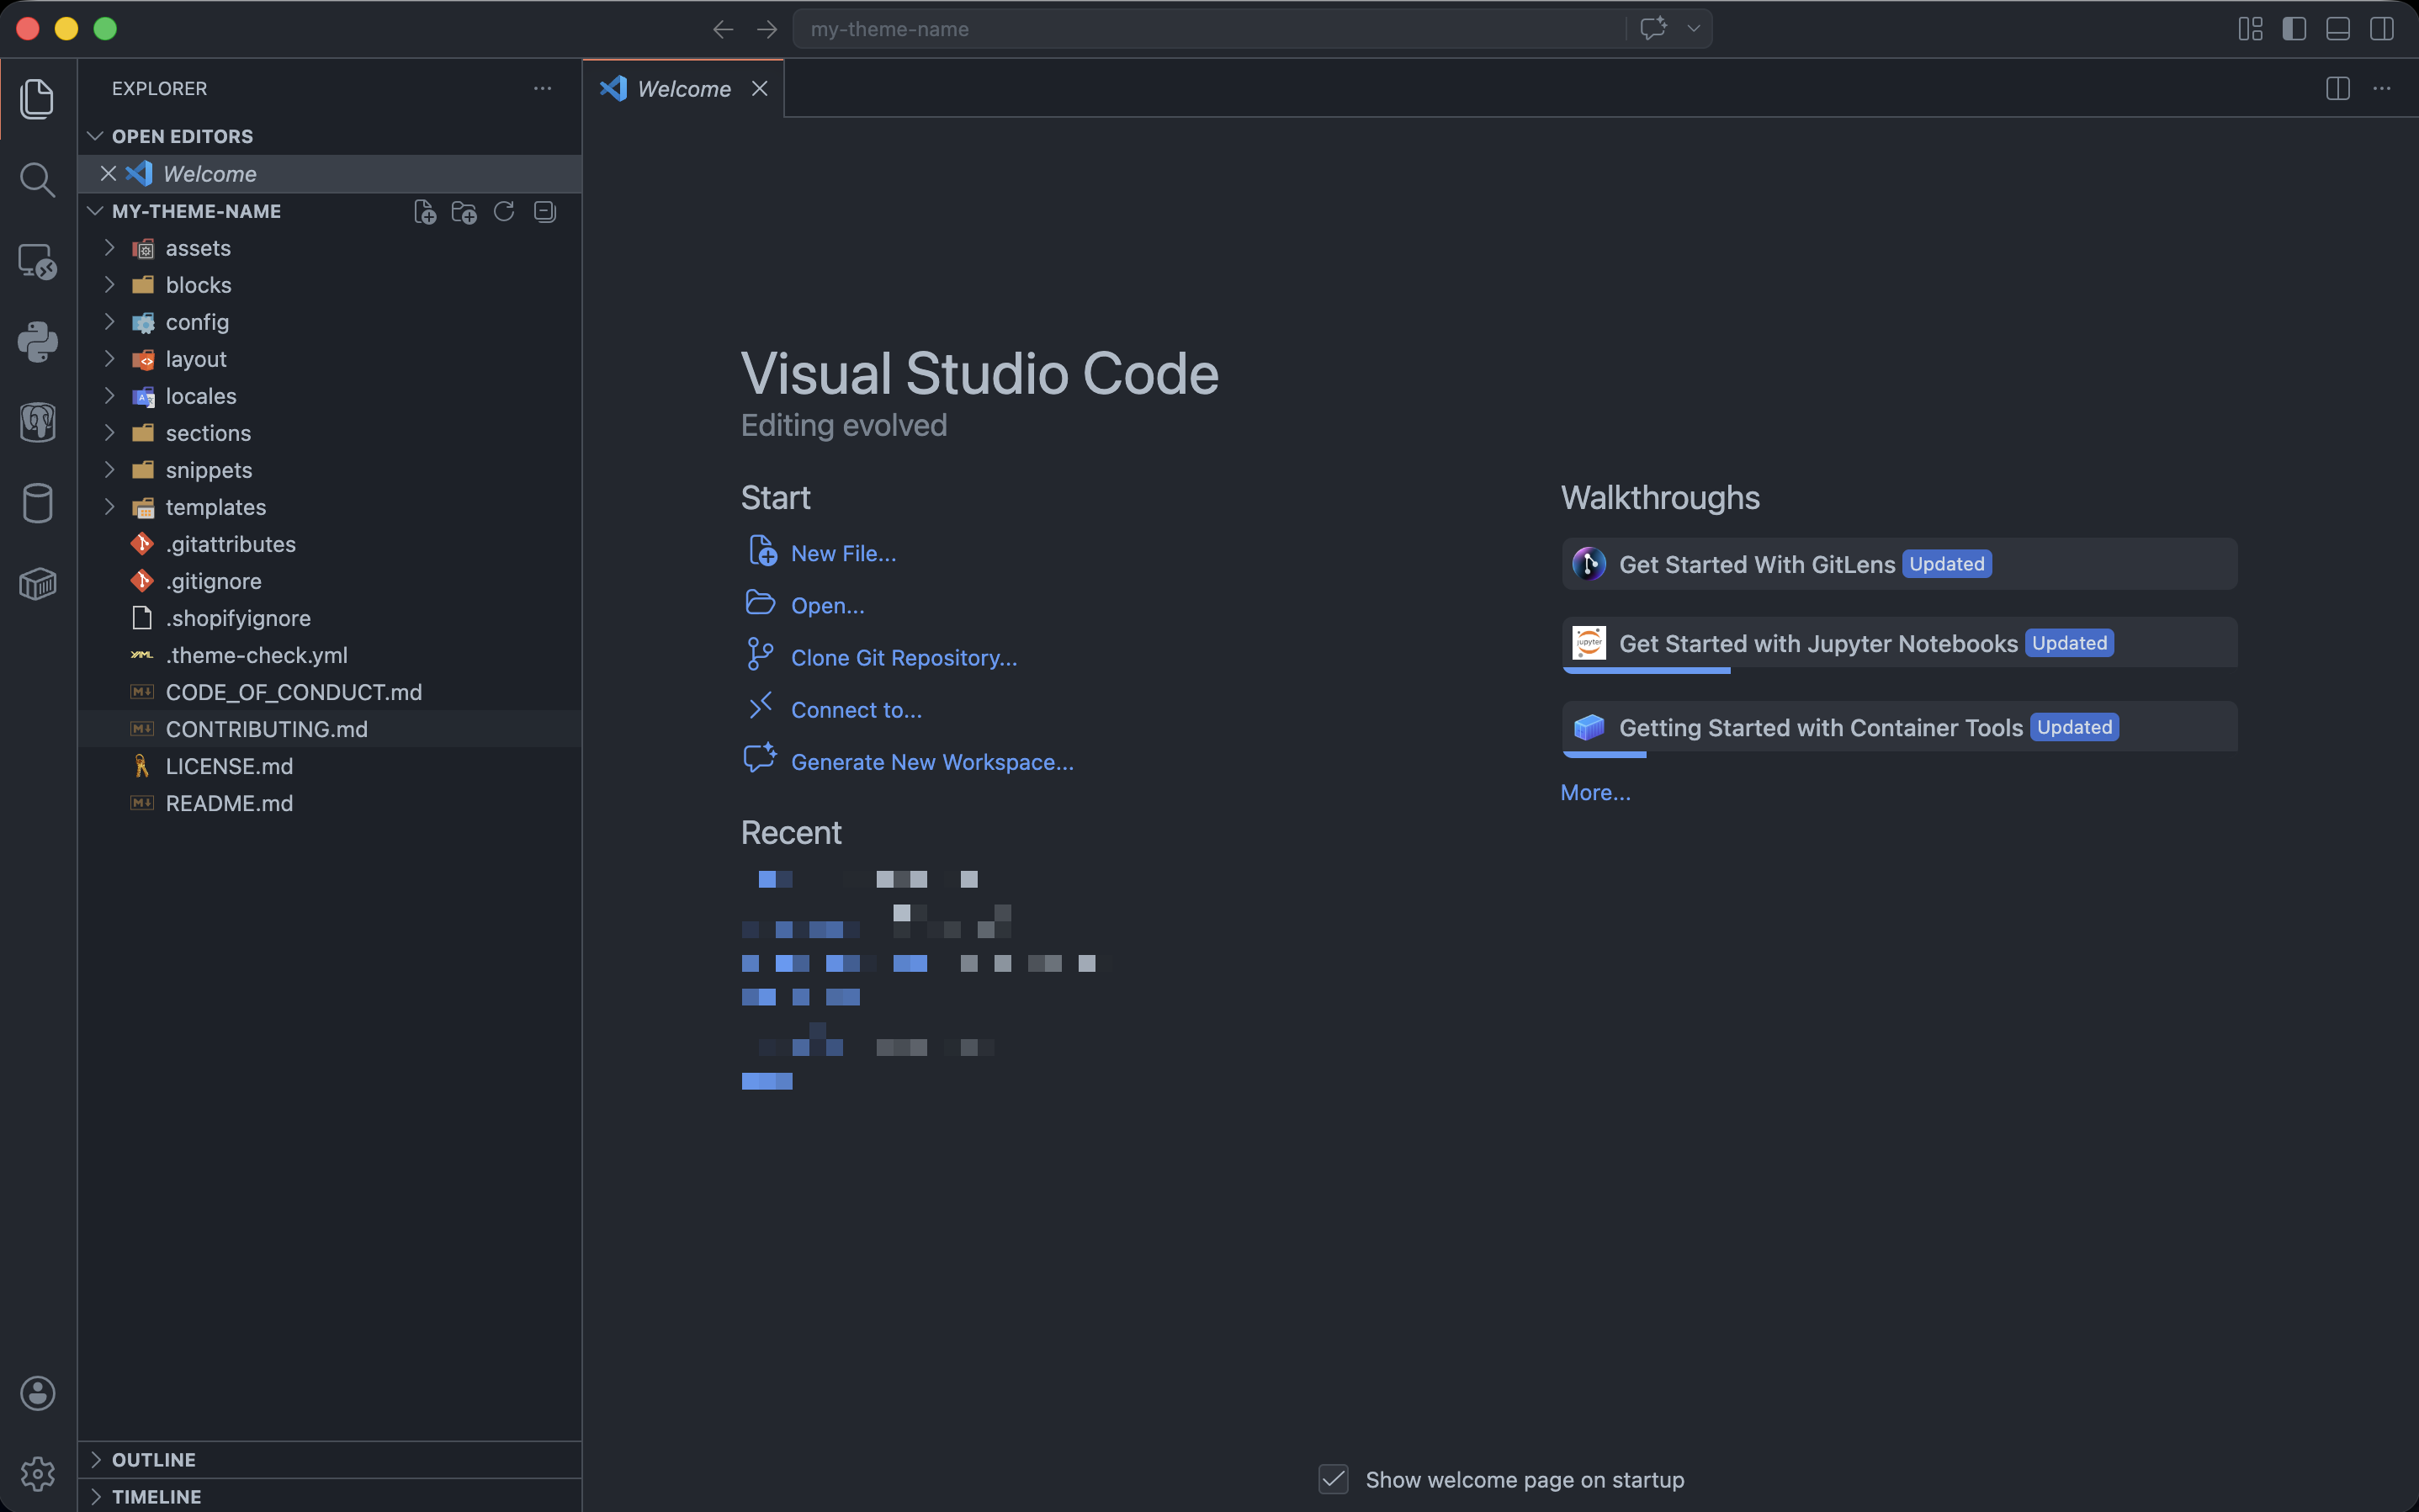 Your theme files open in VS Code, ready to edit
4. Pushing your changes to Shopify
Section titled “4. Pushing your changes to Shopify”When you’re happy with your changes, run this from inside your theme folder:
shopify theme pushBy default this creates a new unpublished theme in your store’s theme library. It doesn’t touch your live theme at all; it just adds a copy alongside everything else. From there you can go to Online Store → Themes in your admin, find the newly uploaded theme, and hit Preview to check it before publishing.
That workflow — push unpublished, preview in admin, publish when happy — is the one worth making a habit. It gives you one final check against real store data before anything goes live.
Two flags worth knowing about:
shopify theme push --theme=THEME_IDtargets a specific existing theme instead of creating a new one. Useful if you’ve already got a dedicated dev theme in your admin and want to keep updating it rather than accumulating new copies.shopify theme push --livebypasses all of that and pushes directly to your active live theme.
5. Pulling an existing theme
Section titled “5. Pulling an existing theme”So far this tutorial has started from Dawn, but there are two common situations where you’ll want to pull a theme instead: you’re working on a client’s existing theme, or you want a local backup of your current live theme before making significant changes to it.
shopify theme pull --store=your-store.myshopify.com --theme=THEME_IDTo find the theme ID, go to Online Store → Themes in your admin and click Edit code on the theme you want. The ID is in the URL, it’s the number that appears after /themes/.
The command downloads the files into your current folder, structured exactly the same way as Dawn. Once it’s done, code . opens it in VS Code and you’re in the same position as before.
6. What’s next
Section titled “6. What’s next”At this point you have a working local setup: you can pull themes, preview changes, and push back to Shopify without touching the live site. Before moving on, two things are worth adding to your routine.
Theme Check. Run shopify theme check from your theme folder before any push. It’s a linter that catches Liquid errors, deprecated tags, and performance issues that won’t always cause obvious breakage but will cause problems over time. It’s built into the CLI so there’s nothing extra to install.
shopify theme checkVersion control with Git. I mentioned undo as a safety net earlier in this page. Git takes that further: rather than just undoing keystrokes, you can snapshot your theme at any point, branch off to try something experimental, and roll back a push if it breaks something. The CLI already initialised a Git repository when you ran shopify theme init, so the groundwork is there. It’s worth a page of its own and it’s coming.