Managing Inventory & Locations
Inventory management in Shopify is built around the concept of locations the physical or virtual places where you store your stock. Even if you only ship from one place (your home, a warehouse, or a fulfillment service), Shopify needs at least one location set up to track your inventory properly.
Getting this right early saves a lot of manual work later. Adding a new location after you’ve already created products means going back and assigning stock to it product by product.
What is a Location?
Section titled “What is a Location?”A location in Shopify is anywhere you store and ship inventory from. This could be:
- Your home or office
- A warehouse
- A retail store
- A third-party fulfillment service (like ShipBob or Amazon FBA)
Shopify uses locations to determine where to fulfill orders from. If you have multiple locations, you can set a priority order and Shopify will route orders accordingly.
Setting Up Your First Location
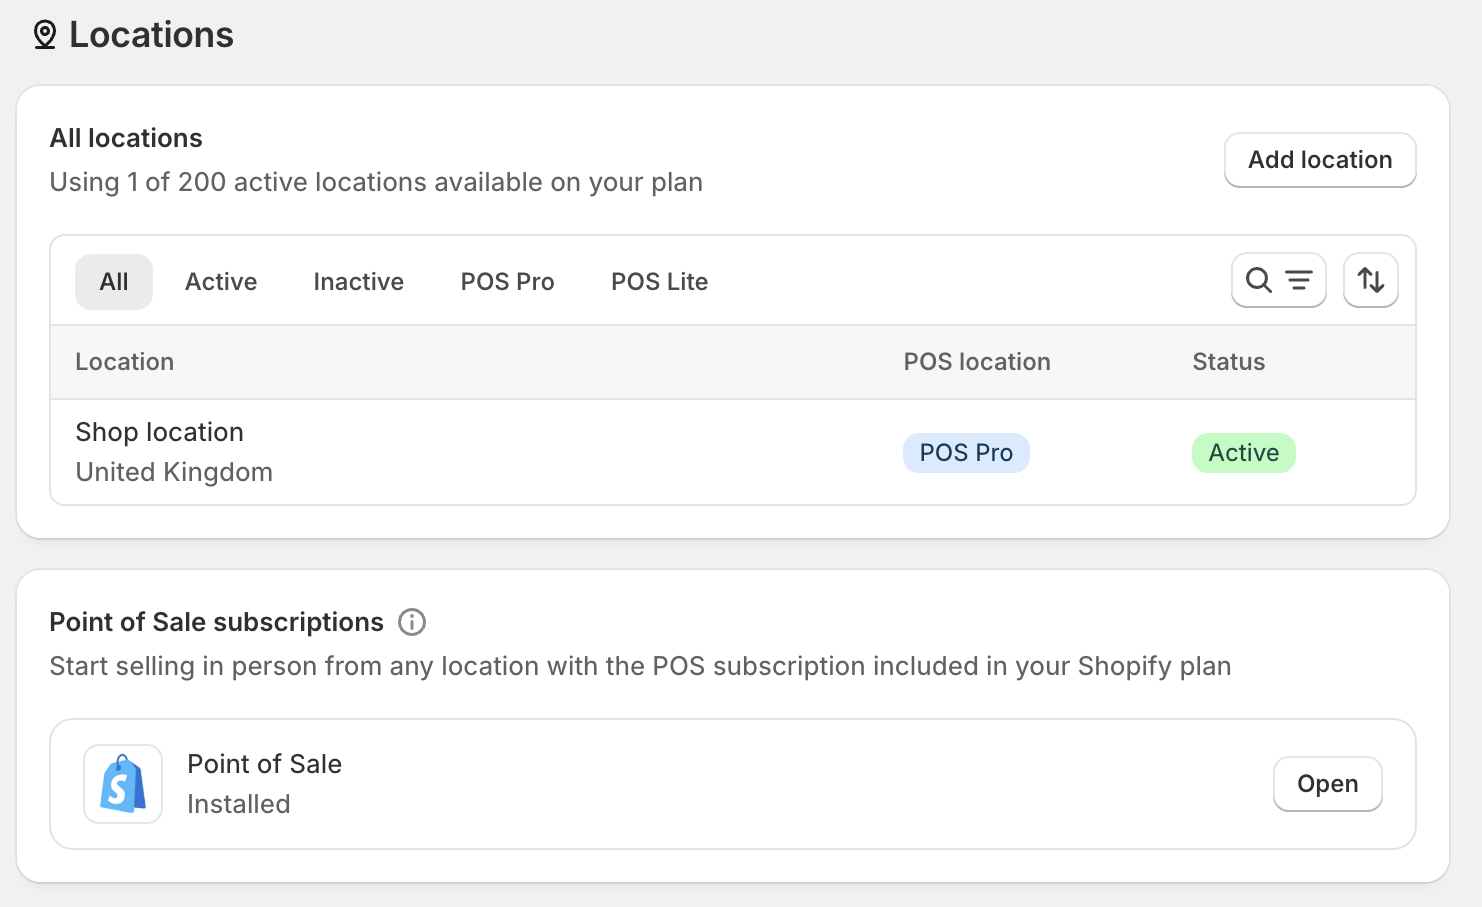
Section titled “Setting Up Your First Location”Your store will have a default location created during setup. To view or edit it:
- Go to Settings → Locations
- Click on the existing location to update the address and name
- Make sure Fulfill online orders from this location is checked
Adding Additional Locations
Section titled “Adding Additional Locations”If you stock inventory in more than one place, add each separately:
- Go to Settings → Locations
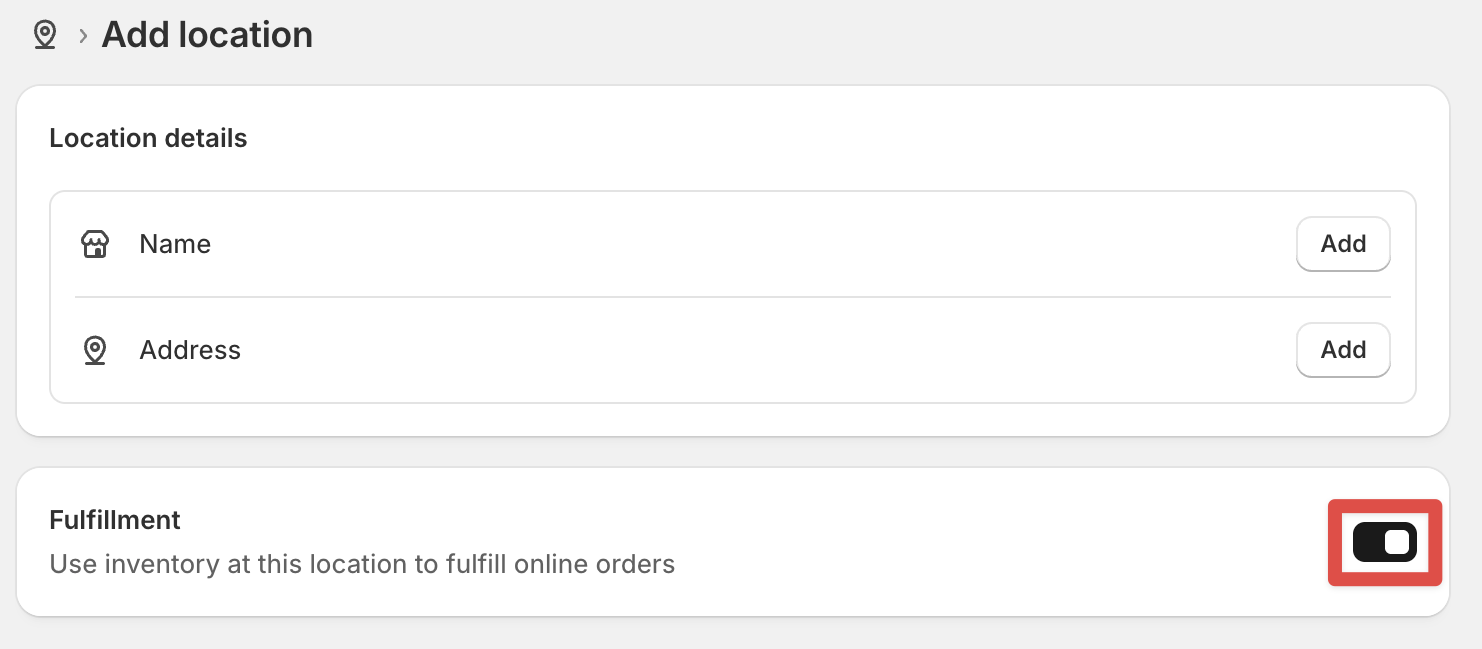
- Click Add location
- Enter a name (e.g., “Main Warehouse” or “Home Office”) and the address
- Choose whether online orders should be fulfilled from this location
Assigning Inventory to Locations
Section titled “Assigning Inventory to Locations”Once your locations are set up, each product variant tracks its own stock level per location.
- Open a product in Products
- Scroll down to the Inventory section
- You’ll see a stock quantity field for each of your active locations
- Enter the quantity available at each location
This gives you accurate stock levels and prevents overselling from a location that’s already out of stock.
Managing Stock Day to Day
Section titled “Managing Stock Day to Day”As orders come in, Shopify automatically reduces inventory at the fulfilling location. Beyond that you can:
- Manually adjust stock at any time by editing the quantity on a product
- Transfer stock between locations via Products → Transfers — useful when moving goods from a warehouse to a retail location
- View inventory by location from Products → Inventory, which gives you a full picture across your entire catalogue
Fulfillment Priority
Section titled “Fulfillment Priority”If you have multiple locations, you can control the order Shopify uses to fulfill orders:
- Go to Settings → Locations
- Click Set fulfillment priority
- Drag your locations into your preferred order
Shopify will always try the highest-priority location first. If that location is out of stock for a given item, it moves down the list to the next one.
- Set up your location(s) before adding products to avoid stock assignment headaches later
- Every product variant tracks its own quantity per location
- Use transfers to move stock between locations
- Set fulfillment priority if you have multiple locations so orders route correctly