Part 1: Setting Up Your Google Sheet
The sheet is the foundation of the whole setup. It’s where your pricing data lives and what the script reads from every time it runs. Getting the structure right here makes everything downstream simpler.
Step 1: Export and Clean Your Shopify Product Catalogue
Section titled “Step 1: Export and Clean Your Shopify Product Catalogue”Start by exporting your product catalogue from Shopify. Head to Products → Export → All products and download the CSV. Open it up in Google Sheets and you’ll be greeted by a sprawling spreadsheet with more columns than you’ll ever need.
The good news is most of them can go. Delete everything except these five:
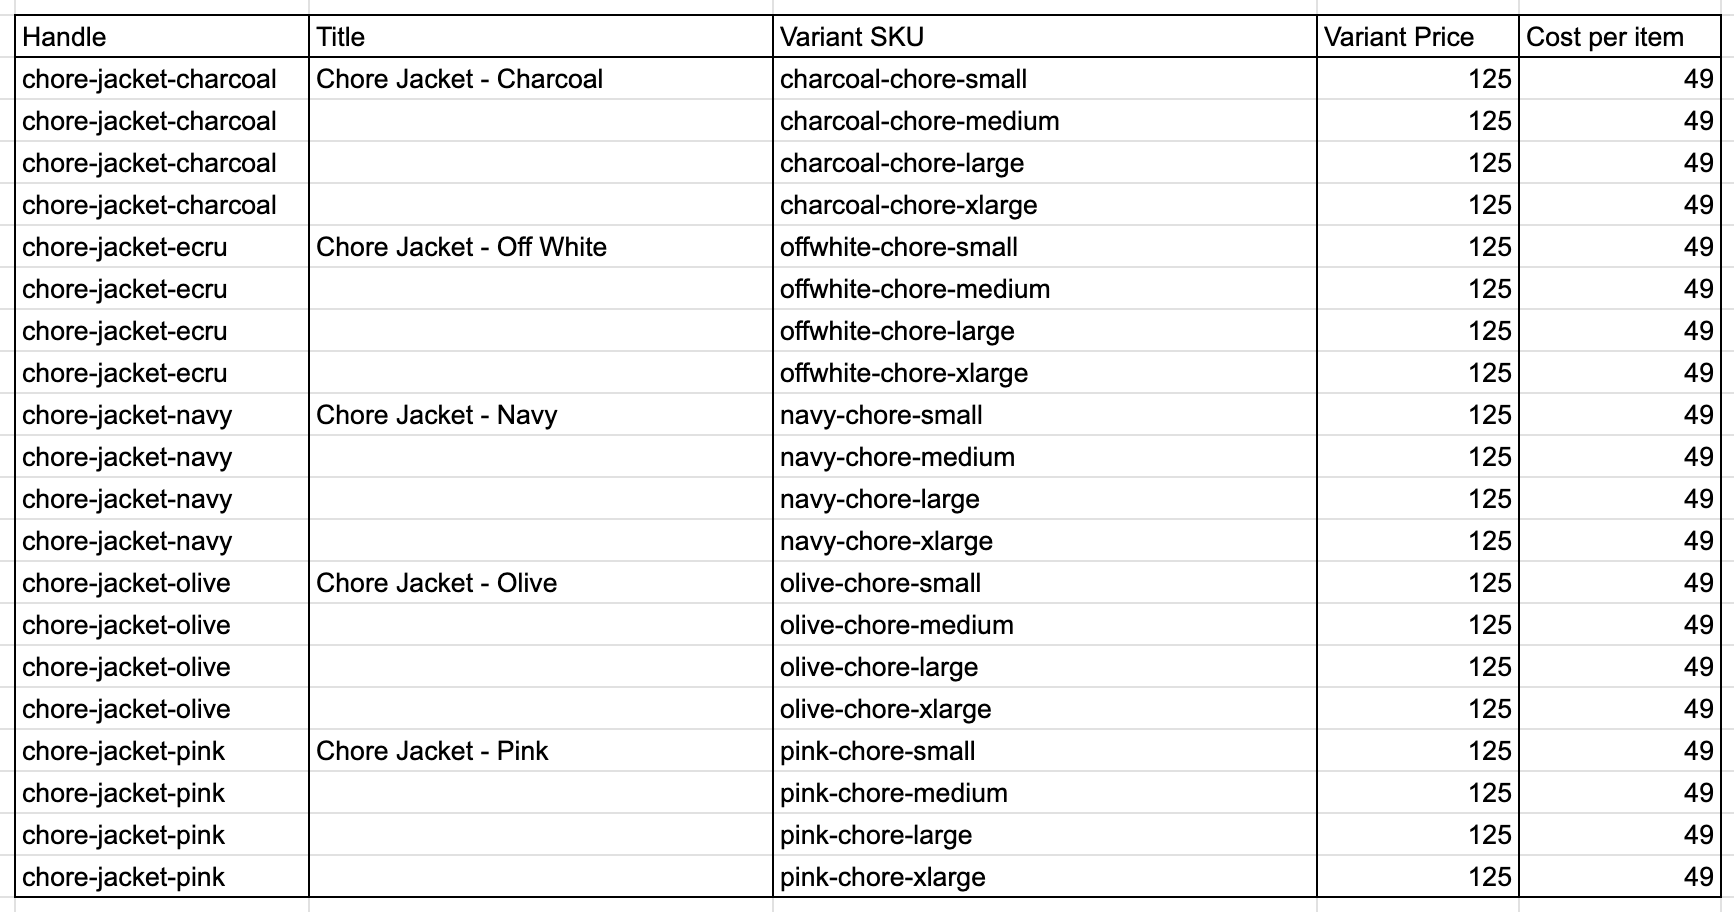
| Handle | Title | Variant SKU | Variant Price | Cost per item |
|---|
You’ll notice straight away that most products take up more than one row. That’s Shopify exporting each variant separately. A jacket that comes in Small, Medium, and Large will have three rows, all sharing the same Handle. It might seem like this is useful (apply a different price per size?) but for this setup it’s actually just noise. I’m going to use the Handle as the unique identifier for each product, and once a price is assigned to a product, all its variants inherit it automatically. One Handle, one price.
So the next step is to strip out the duplicate variant rows and get down to one row per product:

Much cleaner. That’s your base sheet sorted.
Step 2: Your Pricing Sheet
Section titled “Step 2: Your Pricing Sheet”The cleaned export from Step 1 is already your pricing sheet. You don’t need to create anything new. After removing the duplicate variant rows you should have one row per product with these four columns:
| Column | Header | Description |
|---|---|---|
| A | Handle | Unique product identifier; this is what the script uses to find each product |
| B | Title | Product name (not used by the script, just there so you can read the sheet like a human) |
| C | Variant SKU | Your internal SKU reference |
| D | Variant Price | The retail price you want to sync to Shopify |
| E | Cost per item | Your cost price, used for margin reporting in Shopify, not visible to customers |
This is now your live pricing document. When prices need updating, this is where you make the change. The script takes care of getting it into Shopify.
Step 3: Name Your Sheet Tab
Section titled “Step 3: Name Your Sheet Tab”The script references your pricing data by the sheet tab name. Name the tab something clear and consistent. Pricing works well. Avoid spaces if possible; underscores are fine (Pricing_Master).
You can have other tabs in the same spreadsheet for other purposes. The script will only read the tab you point it at.
Step 4: Lock Down the Handle Column
Section titled “Step 4: Lock Down the Handle Column”Once your Handles are in, protect column A so it can’t be accidentally edited. A corrupted Handle means the script loses its reference to that product entirely.
To protect a column in Google Sheets: right-click the column header → Protect range → add a description like “Do not edit: Shopify Handles” → set permissions to only allow yourself to edit it.
This is a small step but worth doing before you share the sheet with anyone else or run it regularly.
What You Should Have at the End of Part 1
Section titled “What You Should Have at the End of Part 1”- Your cleaned Shopify export open in Google Sheets
- One row per product with Handle, Title, Variant SKU, Variant Price, and Cost per item
- Duplicate variant rows removed
- The sheet tab named consistently
That’s the sheet done. In Part 2 I’ll set up API access in Shopify so the script has permission to write to your store.