Store Launch Checklist
Before you flip the switch and take your store live, it’s worth running through a checklist. Launching with something broken or missing is easy to do when you’re focused on the exciting parts. This page covers the boring-but-important bit.
Work through each section before you go live. Most of these take minutes to fix beforehand but can cost real customers if you discover them after launch.
1. Store Settings
Section titled “1. Store Settings”Business details
- Store name, address, and contact email are filled in under Settings → General
- Timezone and currency are set correctly (these affect reporting and are annoying to change later)
- Store email (Settings → General) is a real monitored inbox, not a placeholder
Domain
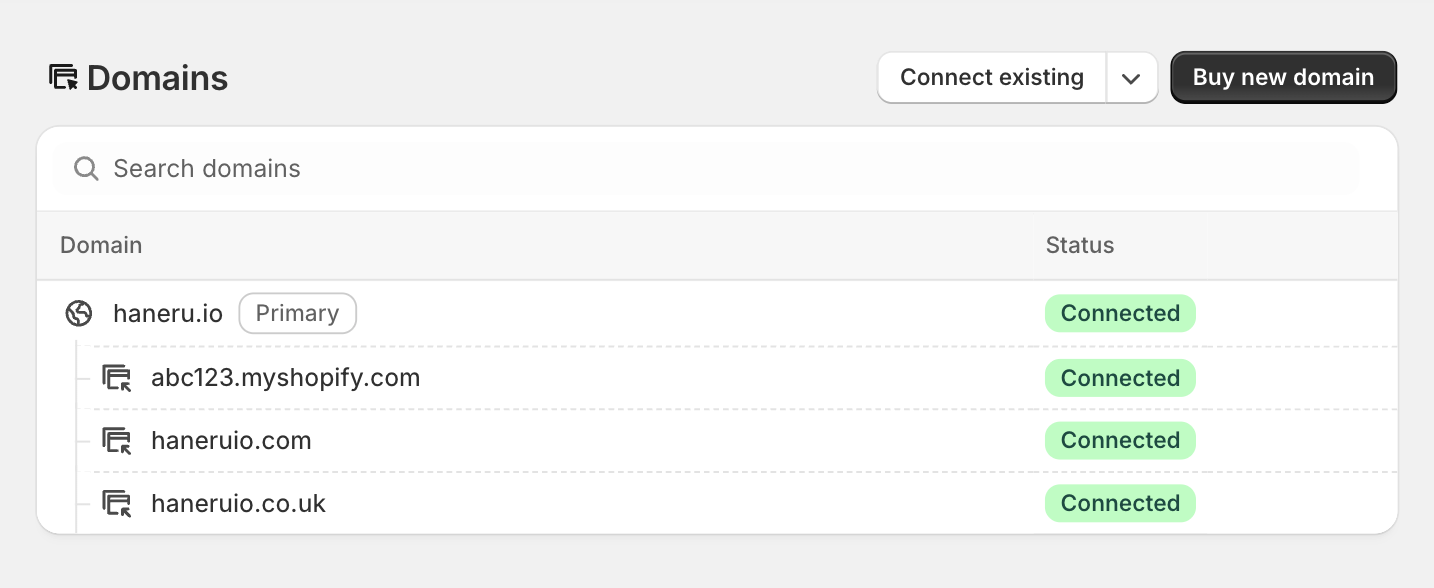
- A custom domain is connected under Settings → Domains
- The custom domain is set as the primary domain (not your
.myshopify.comaddress)
2. Payments
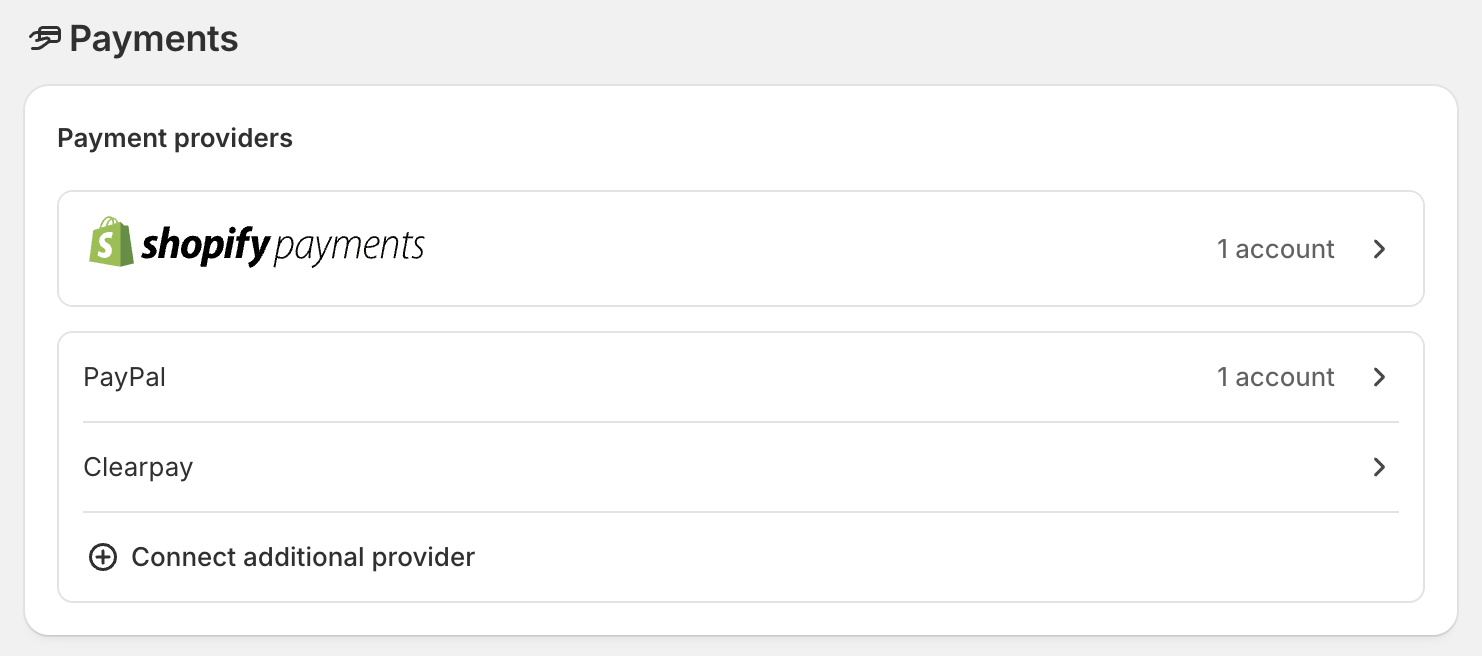
Section titled “2. Payments”- At least one payment provider is active under Settings → Payments
- If using Shopify Payments, your banking details and business information are fully entered and verified
- PayPal is connected if you want to offer it as an alternative (many customers prefer it)
- Test mode is off (easy to forget if you were testing earlier)
3. Shipping
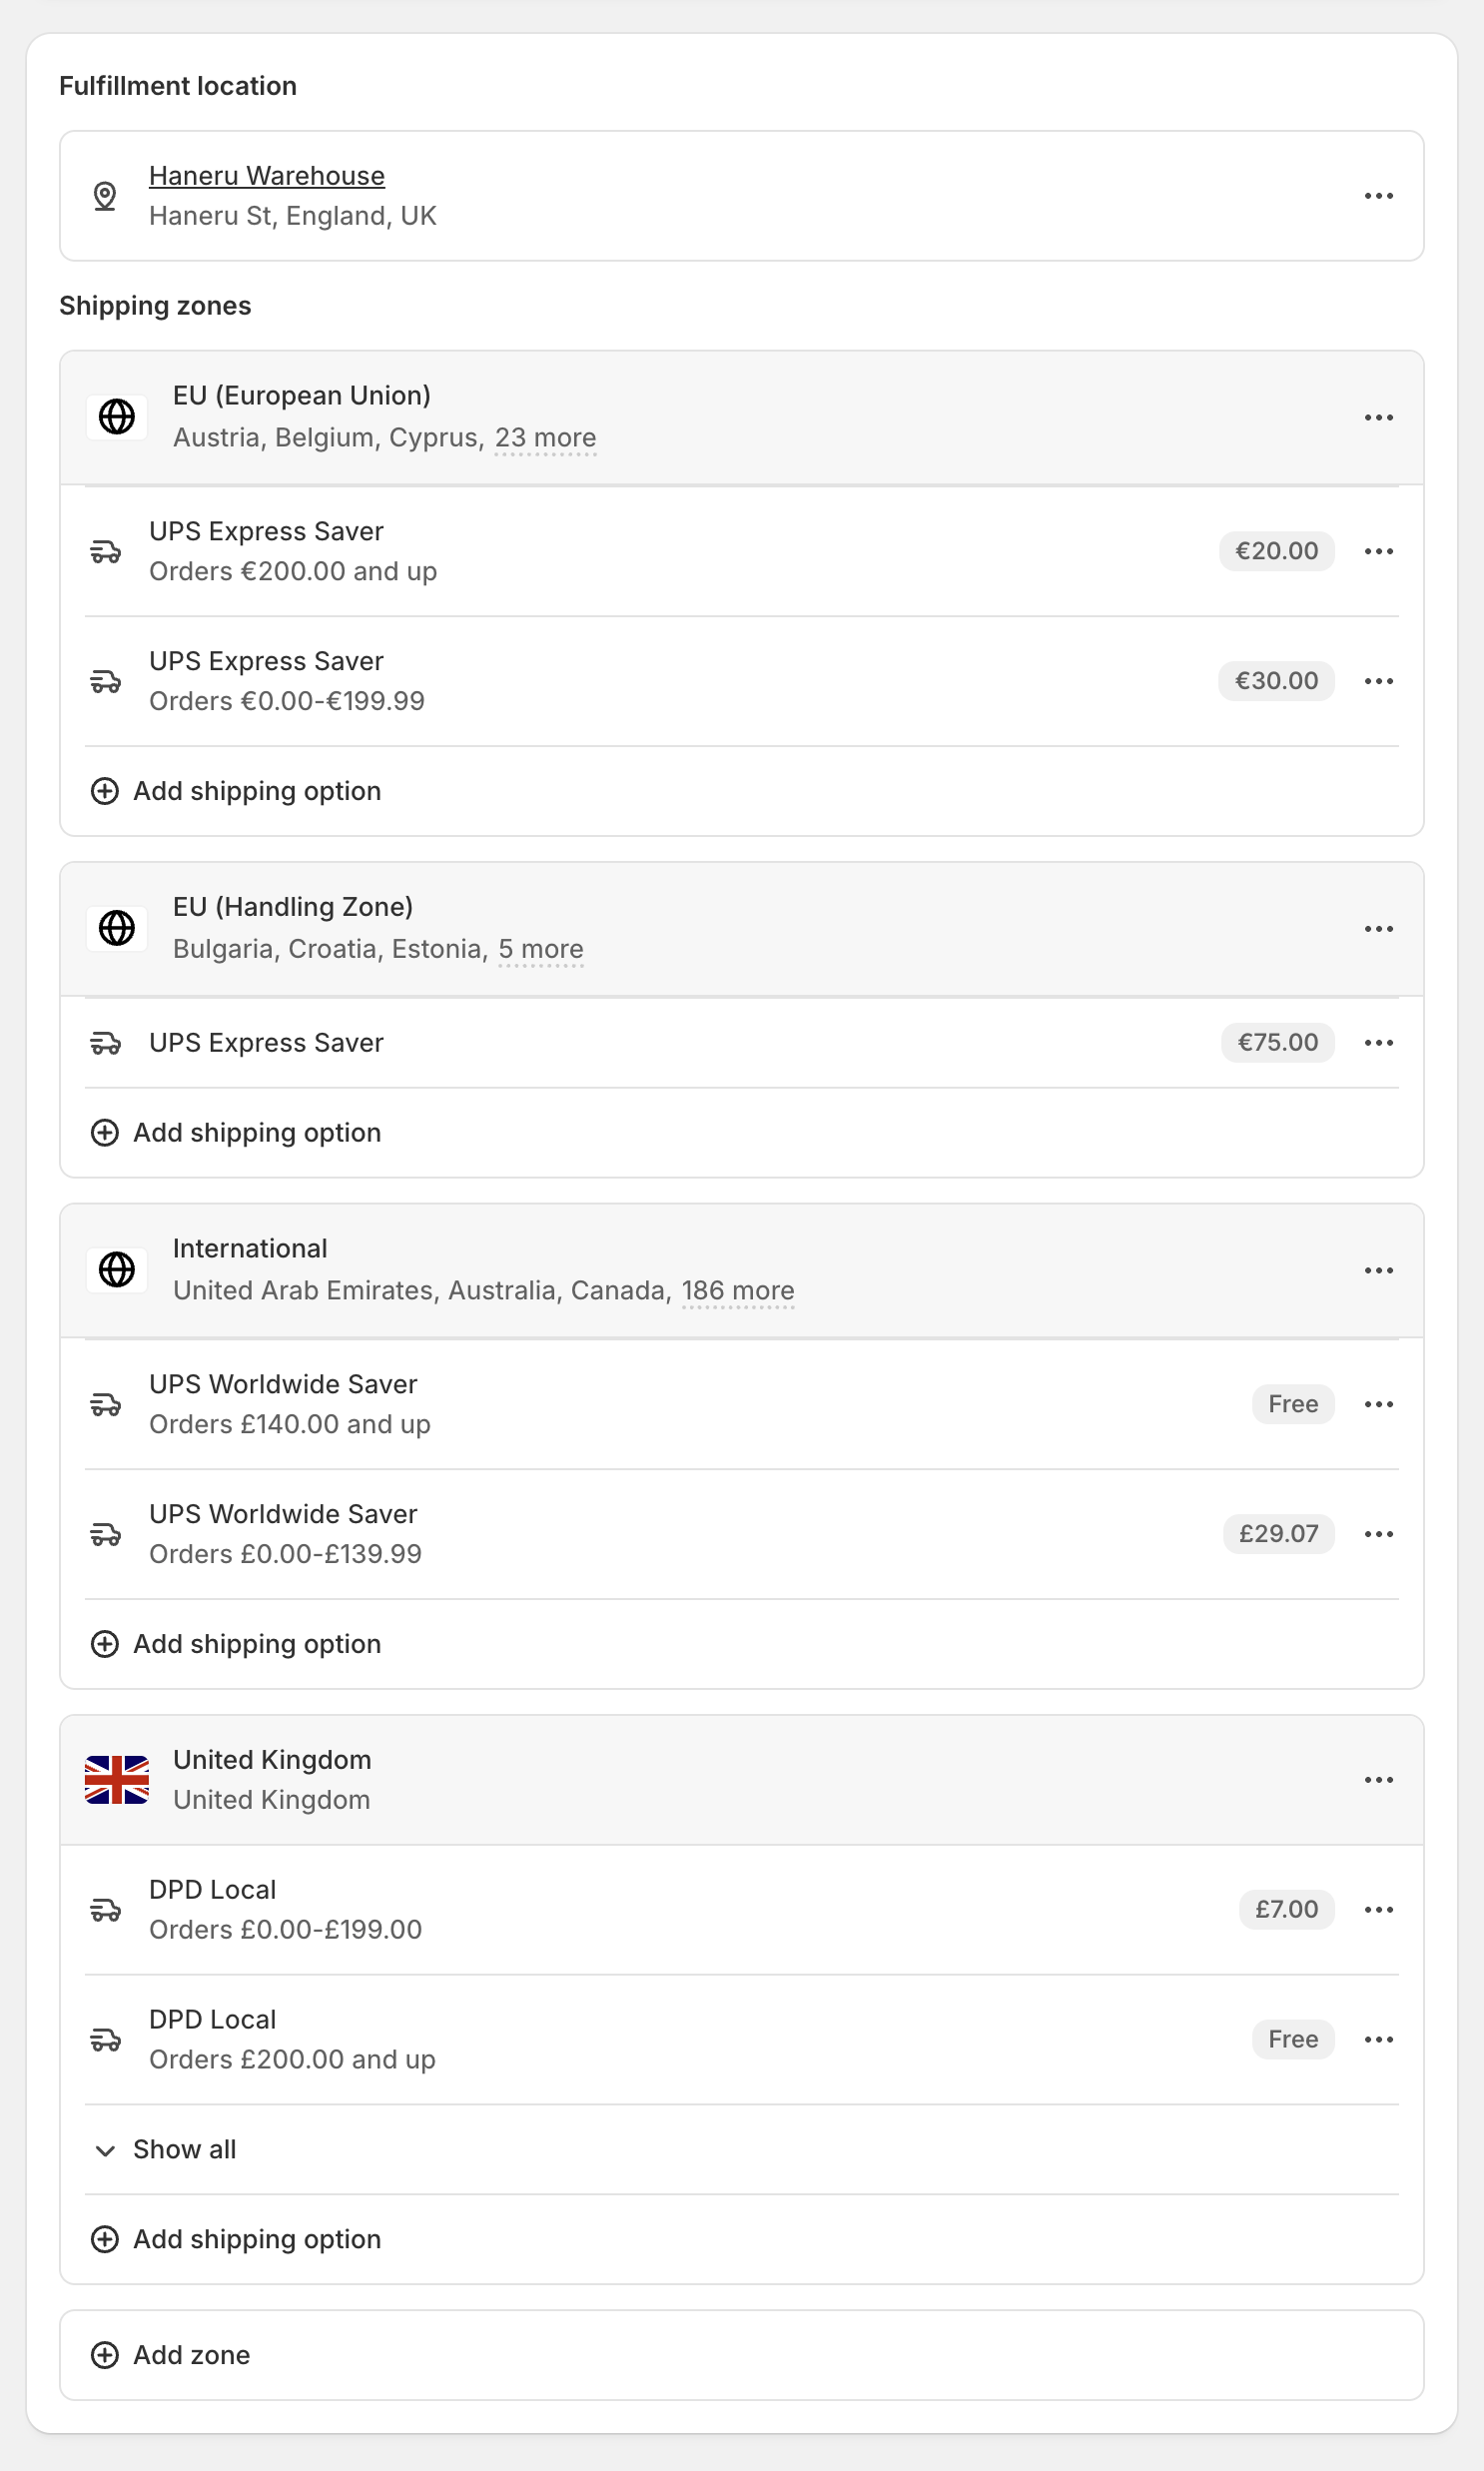
Section titled “3. Shipping”- At least one shipping zone and rate is configured under Settings → Shipping and delivery
- Rates reflect what you’ll actually charge (or free shipping if that’s your model)
- If shipping internationally, separate zones are set up for each region
- Product weights are filled in on all products (carriers need these to calculate rates accurately)
4. Policies
Section titled “4. Policies”All five policy fields are filled in under Settings → Policies:
- Return & Refund Policy
- Privacy Policy
- Terms of Service
- Shipping Policy
- Contact Information
None of them should contain Shopify placeholder text. Review each one and make sure it reflects your actual store, especially the return policy.
5. Products
Section titled “5. Products”- All products you want live are set to Active status
- All products you’re not ready for are set to Draft
- Every product has at least one image
- Pricing is correct, including compare-at prices if you’re showing a sale
- Inventory is set and tracking is enabled where needed
- SEO fields (page title and meta description) are filled in on key products, at minimum your hero products and bestsellers
6. Collections
Section titled “6. Collections”- Collections are set up and populated with the right products
- Smart collection conditions are pulling in the correct items (scroll down to preview the product list when creating or editing a collection)
- Collection images are added where your theme displays them
- SEO fields are filled in on main collections
7. Navigation
Section titled “7. Navigation”- Main menu links are correct and lead to real pages (not 404s)
- Footer links are correct (policies typically live here automatically)
- If you have a search bar, test that it returns relevant results
8. Place a Test Order
Section titled “8. Place a Test Order”This is the most important step on the list and the one most often skipped.
- Go to Settings → Payments and enable Bogus gateway (a test payment method)
- Go to your storefront and purchase a product as a customer would
- Verify the confirmation email arrives and looks correct
- Verify the order appears in Orders with the right details
- Disable the Bogus gateway and re-enable your real payment method
9. Email Notifications
Section titled “9. Email Notifications”- Go to Settings → Notifications and review the customer-facing emails: order confirmation, shipping notification, and abandoned checkout
- The sender email is something recognisable (not
notifications@shopify.com) - The email content reflects your brand (the default Shopify templates are functional but generic)
10. Mobile Review
Section titled “10. Mobile Review”Open your store on your phone (or use your browser’s developer tools to simulate mobile) and check:
- The homepage looks correct
- Product images display and crop well
- Add to cart and checkout work on a touch screen
- The navigation menu is usable on a small screen
A significant proportion of your traffic will arrive on mobile. The desktop view being perfect isn’t enough.
11. Remove the Storefront Password
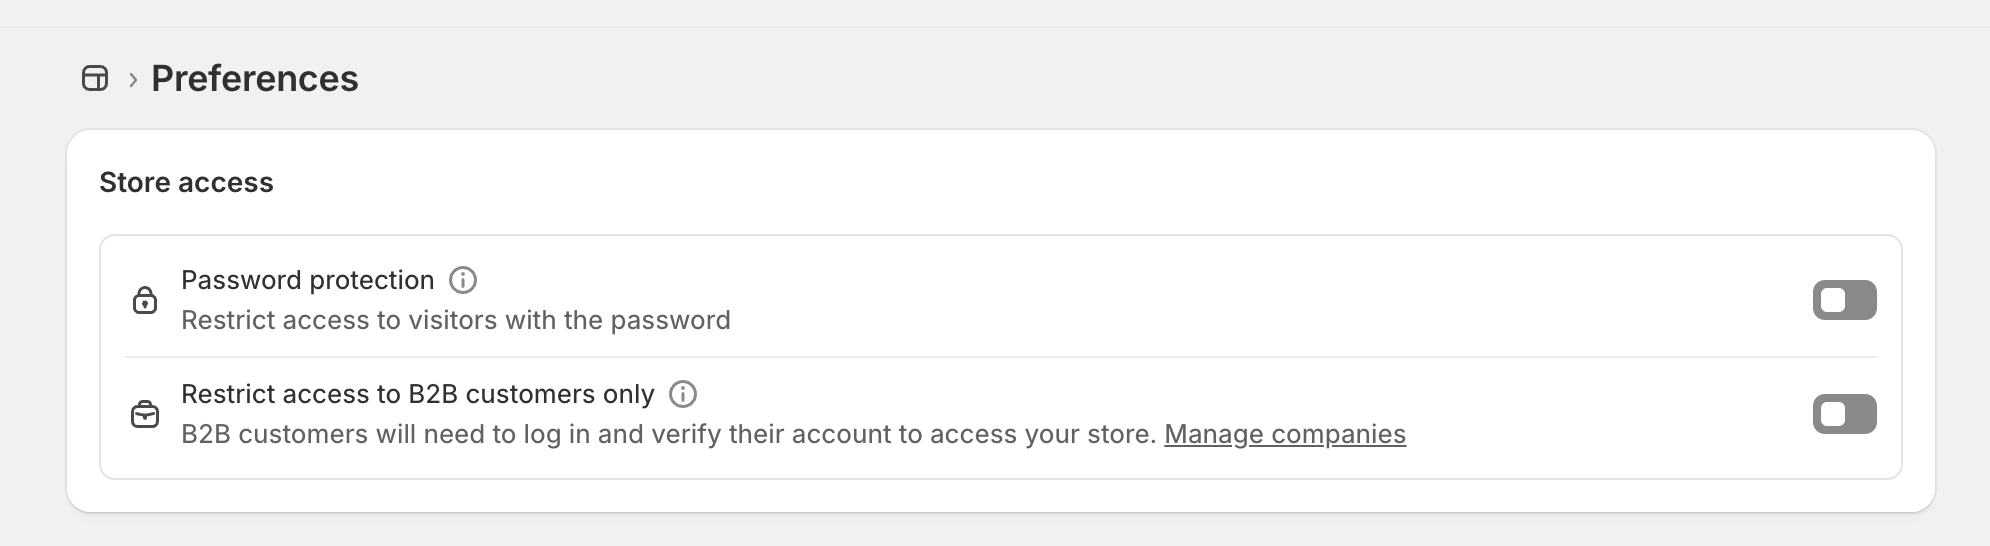
Section titled “11. Remove the Storefront Password”The most classic launch mistake. If you’ve been building in private mode, your store is protected by a password that visitors see instead of your storefront. Remove it before you announce anything.
Go to Online Store → Preferences and scroll to the Password protection section. Uncheck the Restrict access to visitors with the password option and save.
In order of importance:
- Place a test order and complete the full checkout flow
- Confirm payments are live (not in test mode)
- Remove the storefront password
- Check your custom domain is set as primary
- Verify all policies are filled in
- Review on mobile