Your First Store
Some elements of this guide will assume a certain level of knowledge. It will be assumed by this point that you have signed up for a Shopify store and have a product ready to sell. If you are not at that point yet, I recommend circling back to the Getting Started section which contains more information.
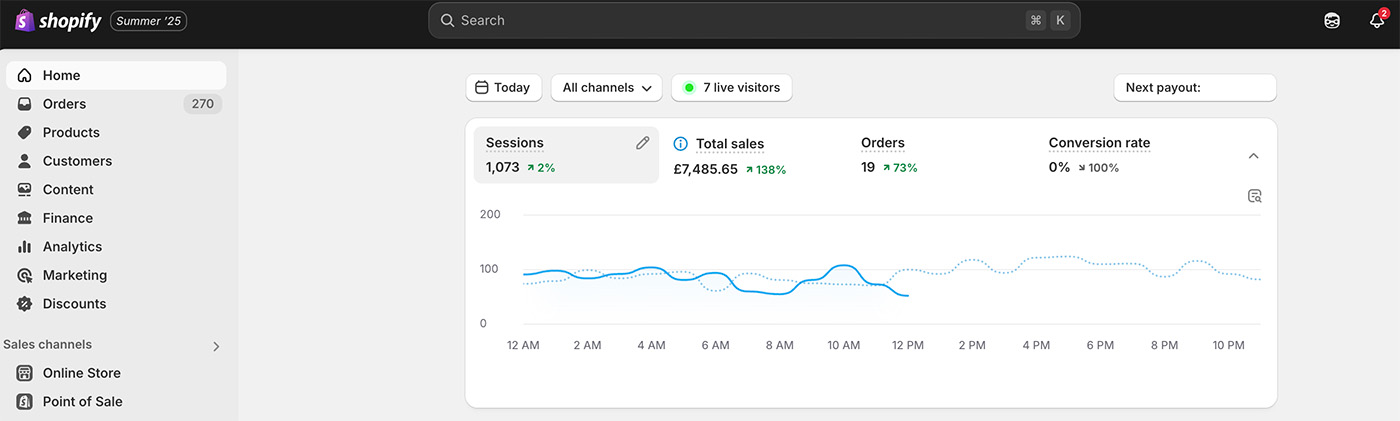
When you land on the admin section of your store you should see something like this:
Not all elements of the admin menu will be covered here as that is beyond the scope of this guide however the items we’re concerned with here are:
Orders:
This is where you can view and manage all customer orders. In addition to processing orders, you can create draft orders, purchase shipping labels, and monitor abandoned checkouts to follow up with potential customers who didn’t complete their purchase.
Products:
This is the central hub for all the products you sell in your store. Each product entry includes essential details like titles, descriptions, pricing, inventory, and media. This section also plays a key role in organizing your collections and managing how products appear across your storefront.
Content:
The Content section in Shopify has recently been updated and now includes Metaobjects (we’ll dive into those later), Files, Menus, and Blog Posts.
- Files is where you upload images and other media assets that you’ll use throughout your store, such as for product pages, banners, or blog posts.
- Menus allows you to manage your store’s navigation. Here, you can create and organize the links that appear in your site’s main menu, footer, or any custom menus.
- Blog Posts is the area where you can create and manage blog content to engage customers and improve SEO.
Make sure you investigate the other areas not covered above, the best way to learn and discover options and settings is to use them real time in your own store. Many of them will make a lot more sense once your store is up and running and you can appreciate their use case.